Getting started
Moonify is an innovative solution to help you monetizing your traffic.
Introduction
Moonify is very easy to implement. You will need a few pre-requisites to let you start :
- A Moonify Provider account
- to integrate one of our SDK into your website
Signup as a Provider
You can quickly create an account by fullfilling the form here : my.moonify.io/signup
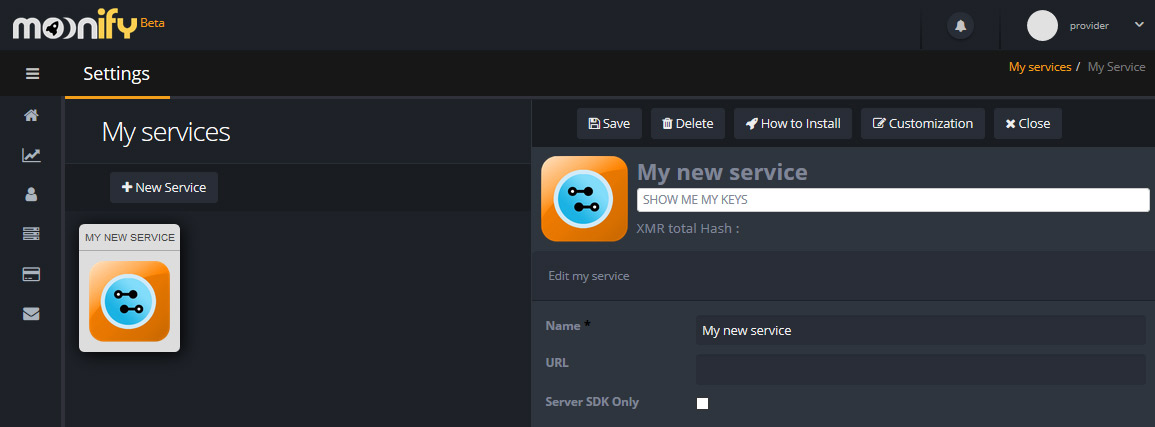
Once logged, you will be able to declare your website. To do that, simply add a new service like in the picture above.
Getting your keys
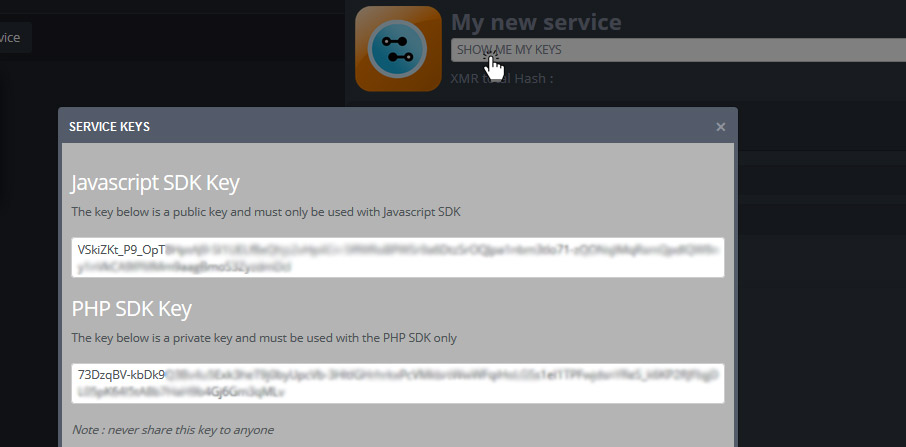
When a service is created, Moonify generates 2 keys for you:
- a public key (to be used with the Javascript SDK)
- a private key (to be used with our server side SDK : Rest API, PHP, …)
Important note : Never share your private key to any one, it is used to authenticate with the API.
You can find your keys, by clicking on “Show me my keys” like this
Integrating the SDK
Moonify offers you two ways to integrate our solution in your website :
- On the client side using the Javascript SDK
- On the server side using the Server SDK
The Javascript SDK
This is the easiest way to implement our monetization system. Four simple lines of javascript, and you’re done.
<script src="https://pkg.moonify.io/moonify.min.js"></script>
<script type="text/javascript">
Moonify.start({serviceID:"[YOUR PUBLIC KEY]"});
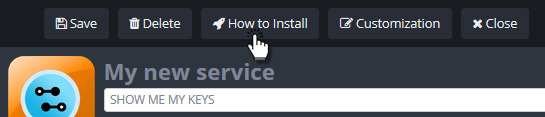
</script>Quick tip : You can find a prewritten version of this code including your key in the “How to install” section in your service panel (see pictures below).
This SDK is the perfect way for you to test our offer in a very simple but limited mode.
The main limitation is that you can’t pass specific information (ie: your visitor’s id) to our network because everything is sent in clear. If you wish to pass private information to us, you’ll have to use on of the server SDK instead.
You can now have a deeper look going to the dedicated documentation page for the JS SDK : Here
The Server SDK
This SDK uses a higher security level. The web server hosting your site will call out our server first. During this call you can pass several pieces of information, such as the connected user id, or an user group.
An example here using the PHP Wrapper that you can download here : PHP Wrapper
<?php
include("moonify.php"); //include the wrapper
$moonify = new Moonify(); //declare a new moonify instance
$moonify->set("serviceID","[YOUR PRIVATE KEY]"); //set your private ID as authentication
$session = $moonify->session(['userID'=>'MyUserID'])->open(); //open a monetization session
// First method :
if($moonify->error){
echo $moonify->error; //show error
} else {
echo $session->integrationCode; //add Javascript code to set the monetization on client-side
}
// Second method :
if($moonify->error){
echo $moonify->error; //show error
} else {
$tokenID = $session->tokenID();
echo '<script src="https://pkg.moonify.io/moonify.min.js"></script>';
echo '<script type="text/javascript">Moonify.set({tokenID : "'.$tokenID.'" });</script>';
}
?>In response, our server will deliver a token ID. You then have to echo the given HTML integration code in your pages. (Second method in the example above).
You will just have to run a Moonify.Start() when the time is appropriate for you to start mining on your website.
<script type="text/javascript">
    Moonify.start();
</script>
Using this SDK offers you the advantages of :
- Knowing your network performance better.
- Identify the best contributors and eventually reward them.
The result
As a result, if the device fits the minimum requirements to start a mining session, your visitors will see a special ribbon bar at the bottom of your page.

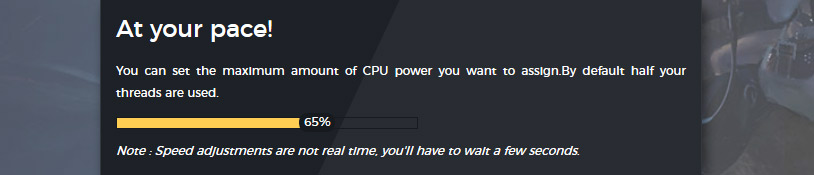
Clicking on “more”, gives your user access to an interface allowing him to customize his mining session…
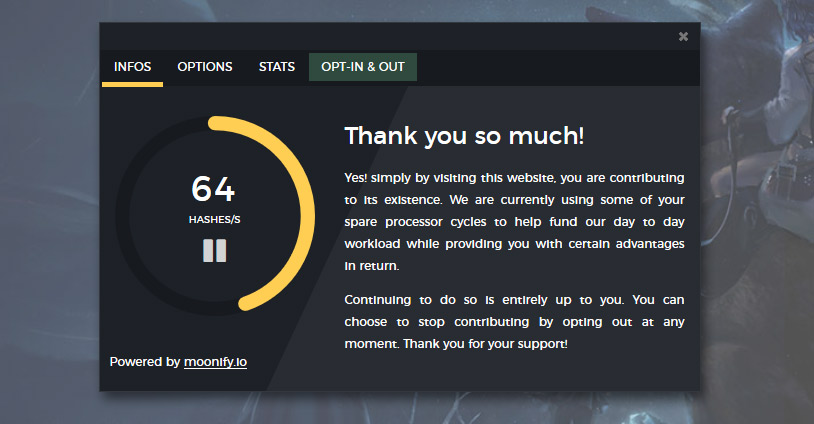
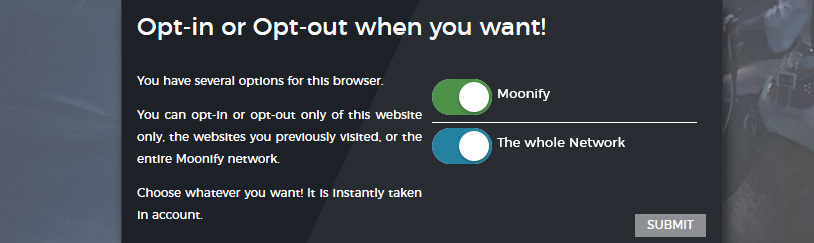
…like the power to allocate
…or the ability to optin or optout for the service of his choice, or the entire Moonify network in just one click.